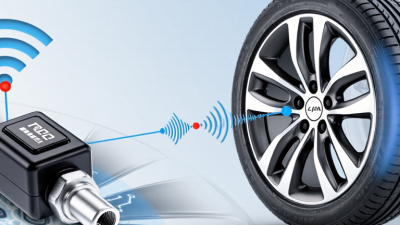
How to Program a Dill TPMS Sensor

A TPMS warning that returns after tire service can point to a missed relearn, an incompatible sensor, or another fault. Guesswork wastes time. NHTSA’s 2012 report, Tire Pressure Monitoring System (TPMS) Effectiveness, found that TPMS reduced severe tire underinflation by 55.6 percent. That finding explains why correct sensor setup matters beyond switching off a dashboard light. However, TPMS does not replace pressure checks. The U.S. Tire Manufacturers Association recommends checking tire pressure monthly and before long trips, using the vehicle manufacturer’s specifications.

Learning how to program a dill tpms sensor starts with identifying the exact part and vehicle application. Programming and relearning describe different tasks: programming configures a compatible sensor, while relearning registers sensor identification information with the vehicle. Some replacement sensors arrive configured for supported applications; others require a compatible programming tool before installation. Check the details. Confirm the vehicle’s year, make, model, sensor frequency, and tool coverage against current Dill application information. A sensor that transmits successfully may still require a vehicle-specific relearn procedure before the system recognizes it.

This guide explains how to determine the required setup, prepare the correct equipment, and verify recognition after installation. Follow Dill’s instructions and the vehicle manufacturer’s service procedure, including any specified activation sequence or driving conditions. A successful scan feels reassuring, but it does not prove the entire job is complete. Confirm cold inflation pressures against the door-jamb placard, check for leaks, and verify that the warning clears as specified. If it returns, revisit compatibility and diagnostic information before replacing another component.
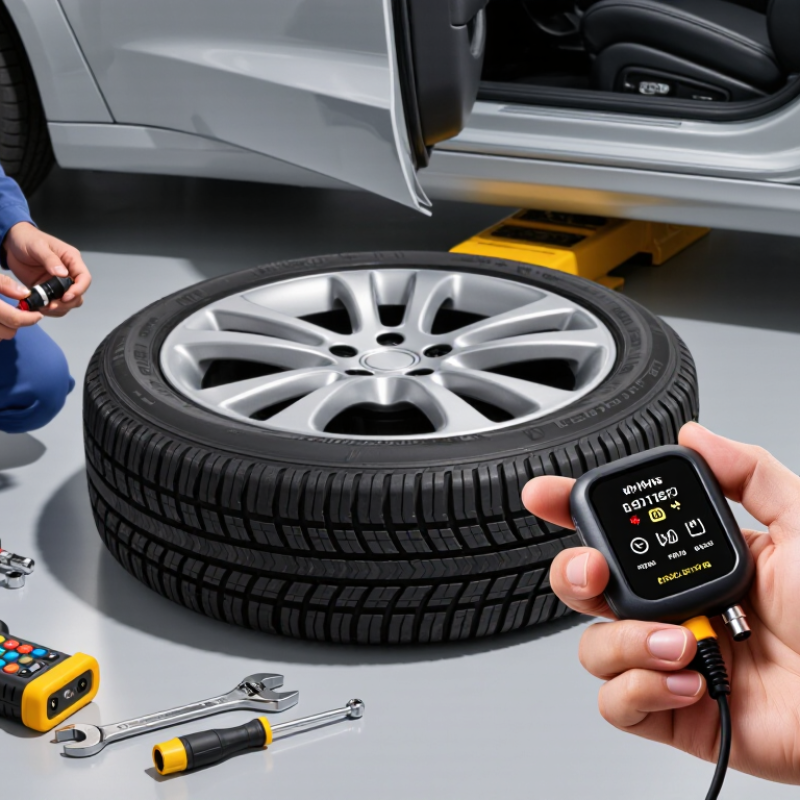
How to Program a Dill TPMS Sensor

Understanding Dill TPMS Sensor Types and Programming Requirements

Programming requirements depend on the sensor type, vehicle application, and replacement procedure. Some replacement sensors arrive configured for specific vehicles and need only a vehicle relearn. Universal programmable sensors usually need compatible equipment to load the correct vehicle protocol before installation. Other sensors cover several applications but still require selection or activation according to their instructions. Check the part number. Frequency alone, such as 315 MHz or 433 MHz, does not confirm compatibility with your vehicle’s receiver.

Sensor programming and vehicle relearning perform different jobs. Programming configures the sensor, while relearning registers its identification code with the vehicle. A compatible tool may offer automatic configuration, manual ID entry, or cloning of an existing sensor ID. Cloning can sometimes avoid a separate relearn, but vehicle requirements vary. Verify tool coverage. Match the vehicle’s year, make, model, and any listed production-date restrictions before selecting a programming function.

Before mounting the tire, trigger the replacement sensor and check its ID, pressure reading, and battery status when supported. An unreadable old sensor may prevent copying its ID, making a new ID and relearn necessary. A successful programming message is useful, but it does not prove the vehicle recognizes the sensor. That distinction is easy to overlook. Follow the specified relearn procedure, then check for fault codes and confirm pressure readings where the vehicle displays them.

Checking Vehicle Compatibility and Preparing the Required Tools

Vehicle compatibility matters before any sensor programming begins. Check the vehicle’s year, make, model, and market specification against the sensor application guide. Confirm the operating frequency, commonly 315 MHz or 433 MHz. Frequency alone is insufficient. The sensor must also support the vehicle’s communication protocol. Check the part number. Similar housings can hide different electronics, so appearance is an unreliable shortcut. Replacement wheels may complicate fitment, especially around valve holes and mounting surfaces.

Prepare a compatible TPMS programming tool with current software and adequate battery charge. Verify that its coverage includes both the vehicle and the replacement sensor. Some sensors arrive preconfigured; others require programming before installation. Programming and relearning differ. Programming configures the sensor, while relearning registers its identity with the vehicle. Depending on the application, relearning may require an OBD connection, a stationary sequence, or driving. Read the service procedure. Assuming every vehicle follows the same sequence is an easy mistake.

Keep a tire pressure gauge, the specified valve service kit, and suitable torque tools nearby. If tire removal is necessary, suitable tire-changing equipment and trained handling are also needed. Use the vehicle placard for cold inflation pressure. Follow the sensor instructions for valve hardware and tightening torque. Overtightening can damage components. Before removing anything, scan the existing sensors and record their IDs and wheel positions when possible. An unreadable sensor deserves another check; it does not automatically prove the sensor has failed.

Programming a Compatible Dill Sensor With the Correct Vehicle Protocol

Programming a compatible replacement TPMS sensor starts with matching its application to the vehicle’s exact specifications. Check the model year, model, trim, and market in a current application guide. Confirm the required frequency, such as 315 MHz or 433 MHz, where applicable. Frequency alone is insufficient. The sensor must also support the communication protocol expected by the vehicle’s receiver. Check compatibility twice.

Use a compatible TPMS programming tool with current software and adequate battery charge. Select the exact vehicle application, then position the sensor near the tool as its instructions specify. Keep other loose sensors away to reduce the chance of programming the wrong unit. Follow the prompts to write the selected protocol and sensor identification data. If cloning an existing ID, retrieve it accurately and confirm that this method supports the vehicle. Read the sensor afterward to verify its ID and response. Save those readings.

Programming prepares the sensor; the vehicle may still require a separate relearn procedure to recognize its identification code. Depending on the application, this can involve an onboard sequence, diagnostic connection, or specified driving conditions. Follow the vehicle service procedure rather than assuming one method fits every model. A successful write screen is reassuring, but treating it as proof of completed installation is an easy mistake. After installation, set cold tire pressures to the door-label specification and complete the required relearn. Check for warning lights and verify reported pressures where the vehicle provides them.

Programming a Compatible TPMS Sensor: Match the Vehicle Protocol and Frequency

Before programming a replacement tire pressure monitoring system (TPMS) sensor, confirm the vehicle application, radio frequency, and communication protocol. The chart compares two common nominal radio frequencies used by direct TPMS sensors.

Two common nominal direct TPMS sensor frequencies are 315 MHz and 433.92 MHz.

What this means for programming: A matching frequency is necessary but does not establish compatibility by itself. Use the correct vehicle make, model, and model year to select the supported protocol, then follow the sensor programming and vehicle relearn procedures required for that application. The taller bar represents a higher radio frequency, not better performance.

These are common nominal operating frequencies, not a complete list of TPMS frequencies or a measure of market share. Verify the required specification in the vehicle service information and the sensor application guide.

Installing the Sensor and Performing the Vehicle Relearn Procedure

Installing a replacement TPMS sensor begins with confirming compatibility against the vehicle’s model year, sensor frequency, and application requirements. Programming and relearning differ. A programmable sensor may need its vehicle-specific configuration written before installation; relearning registers its identification number with the vehicle. Check the service instructions. Some replacement sensors arrive preconfigured, so programming may be unnecessary even though the vehicle still requires a relearn.

Fully deflate the tire before removing the valve core and breaking the bead, keeping equipment clear of the sensor. Inspect the valve hole for corrosion, damaged edges, and leftover seal material. Fit the specified new seal and service components, then tighten the retaining nut with a calibrated torque tool. Never guess the torque. Excessive tightening can damage the seal or valve stem, while insufficient tightening may allow air leakage after inflation. Inflate to the door-jamb placard specification and check the valve area with leak-detection solution.

Follow the vehicle’s documented relearn procedure, which may involve a scan tool, stationary activation sequence, or prescribed drive cycle. Keep the activation tool close to the sidewall beside the valve stem. A missed confirmation chirp deserves another check, though repeating activation endlessly can hide an incorrect procedure or incompatible sensor. This step can be fiddly. Verify that all sensor IDs register and displayed pressures match a reliable gauge within the manufacturer’s stated tolerance. If the warning remains, read fault codes before assuming the new sensor is defective.

How to Program a TPMS Sensor — Installing the Sensor and Performing the Vehicle Relearn Procedure

A practical workflow for direct tire pressure monitoring systems with wheel-mounted sensors.

Installation, Programming, and Relearn Checklist
Stage Required Action Tools or Information Verification and Important Details
1. Confirm System Type Verify that the vehicle uses a direct TPMS with sensors inside the wheel assemblies. Vehicle owner’s manual or service information. Indirect TPMS uses wheel-speed information and does not use wheel-mounted pressure sensors. Its calibration procedure is different.
2. Check Sensor Compatibility Match the replacement sensor to the vehicle’s model year, application, radio frequency, communication protocol, and valve configuration. Application guide, vehicle identification details, and replacement sensor specifications. 315 MHz and 433 MHz are common TPMS frequencies. Matching the frequency alone does not establish compatibility.
3. Diagnose Existing Sensors Activate each existing sensor, where possible, and record its identification number and the information reported by the tool. Compatible TPMS activation or diagnostic tool. A sensor that does not respond may have a depleted battery, physical damage, incompatibility, or an activation issue. Confirm the cause before replacement.
4. Program When Required For a programmable replacement sensor, use a compatible tool to write the correct vehicle application and assign or copy a sensor ID when supported. Programmable sensor, compatible programming tool, and application-specific instructions. Some replacement sensors arrive preconfigured and do not require this step. Programming configures the sensor; relearning registers its ID or position with the vehicle. Follow the specified programming order.
5. Remove the Old Sensor Fully deflate the tire before breaking the bead. Demount the tire as required and remove the old sensor and valve components. Tire-changing equipment, valve-core tool, and appropriate hand tools. Keep the bead breaker and tire-changing tools clear of the sensor. Tire removal and installation require suitable equipment and training.
6. Install the Replacement Install the sensor with the specified valve components and service kit. Follow the required assembly sequence and tightening procedure. Correct replacement components, sensor instructions, and a suitable torque tool. Use the torque specified for the exact sensor and valve assembly. Clamp-in and snap-in designs have different requirements; there is no universal installation torque.
7. Refit and Check the Tire Mount the tire without contacting the sensor, inflate to the specified cold pressure, check for leaks, and balance the wheel assembly. Tire-changing and balancing equipment, pressure gauge, and suitable leak-detection solution. Use the vehicle tire-information placard or applicable service specification. The maximum pressure molded on the tire sidewall is not the vehicle’s recommended inflation pressure.
8. Select the Relearn Method Identify whether the vehicle requires stationary activation, diagnostic registration, automatic learning while driving, or a combination of steps. Vehicle-specific service procedure and a compatible TPMS or diagnostic tool when required. The method varies by vehicle and model year. Do not assume a universal button sequence, wheel order, driving speed, or learning duration.
9. Perform Stationary Relearn If specified, place the vehicle in relearn mode and activate the sensors in the prescribed wheel order. Compatible activation tool and the vehicle’s relearn instructions. Wait for the specified acknowledgment after each activation. Follow any time limits and include the spare only if the procedure requires it.
10. Perform Diagnostic Relearn If required, obtain the sensor IDs and register them through the vehicle’s diagnostic connector using the supported tool procedure. Compatible diagnostic or TPMS tool with the required vehicle coverage. Confirm successful registration. Some vehicles also require sensor activation or a drive cycle after the IDs have been written.
11. Complete Automatic Learning If supported, complete the prescribed driving conditions so the vehicle can identify the installed sensors or their positions. Vehicle-specific driving instructions and correctly inflated tires. Required speed, duration, and prerequisites vary. An automatic learning procedure on one vehicle may not apply to another.
12. Verify the Repair Confirm that the warning indicator operates normally, inspect displayed pressures or live data where available, and check for remaining TPMS faults. Accurate pressure gauge, instrument display, and diagnostic tool as applicable. Confirm wheel positions when the system displays them. Pressure readings may require driving to update and may differ slightly from a gauge because of temperature, rounding, and update intervals.

Programming and relearning: A successfully programmed sensor may still need to be learned by the vehicle. Copying an existing sensor ID may reduce relearn requirements on some applications, but this must be confirmed for the specific vehicle.

Application-specific specifications: Obtain installation torque, cold tire pressures, sensor activation order, and relearn conditions from the applicable vehicle and sensor instructions.

Verifying Sensor Readings and Troubleshooting Recognition Issues

After programming a replacement TPMS sensor, verify its readings with a compatible activation tool and an accurate tire pressure gauge. Check tires cold. Compare the measured pressure with the vehicle’s door-jamb placard, rather than the tire sidewall’s maximum rating.

Activate each sensor near the valve stem, following your tool’s positioning instructions. Record the sensor ID, pressure, and any available battery status. A small pressure difference may reflect rounding or tool accuracy, so check the equipment specifications before replacing parts.

Check recognition separately. A successful sensor activation does not guarantee that the vehicle has learned its ID. Follow the vehicle-specific relearn procedure, which may require a scan tool, a stationary sequence, or driving under specified conditions.

Confirm each wheel position matches the recorded sensor ID when the system supports location reporting. If recognition fails, check sensor compatibility, operating frequency, and the selected vehicle profile. Repeat the activation with nearby loose sensors moved away from the wheel.

It is tempting to repeat programming immediately, but that can obscure a missed relearn step. That shortcut deserves reconsideration. Some sensors also need the correct programming profile before the vehicle can recognize them. If one wheel remains unrecognized, compare its response with the other three. A missing response warrants checking tool placement and compatibility before suspecting sensor damage or battery failure.